Install Openmaint on Ubuntu Server: A Step-by-Step Guide
Telechargé par
Vincent Leguy

Graphic Interface on Ubuntu Server.
sudo apt-get update
sudo apt-get upgrade
sudo apt install kubuntu-desktop
sudo apt install gksu
reboot
Install Tomcat7
1-First of all, we are going to install Apache tomcat version 7, alongside its additional
packages on our Ubuntu server using the following command:
# apt-get install tomcat7 tomcat7-docs tomcat7-admin tomcat7-examples
2-Once installed, you can test if its working fine by opening the link below in your
browser, with the default port "8080". If you're using it on a local server, use "localhost".
http://localhost:8080
3-Let’s install the text editor gedit with the following command:
# apt install gedit
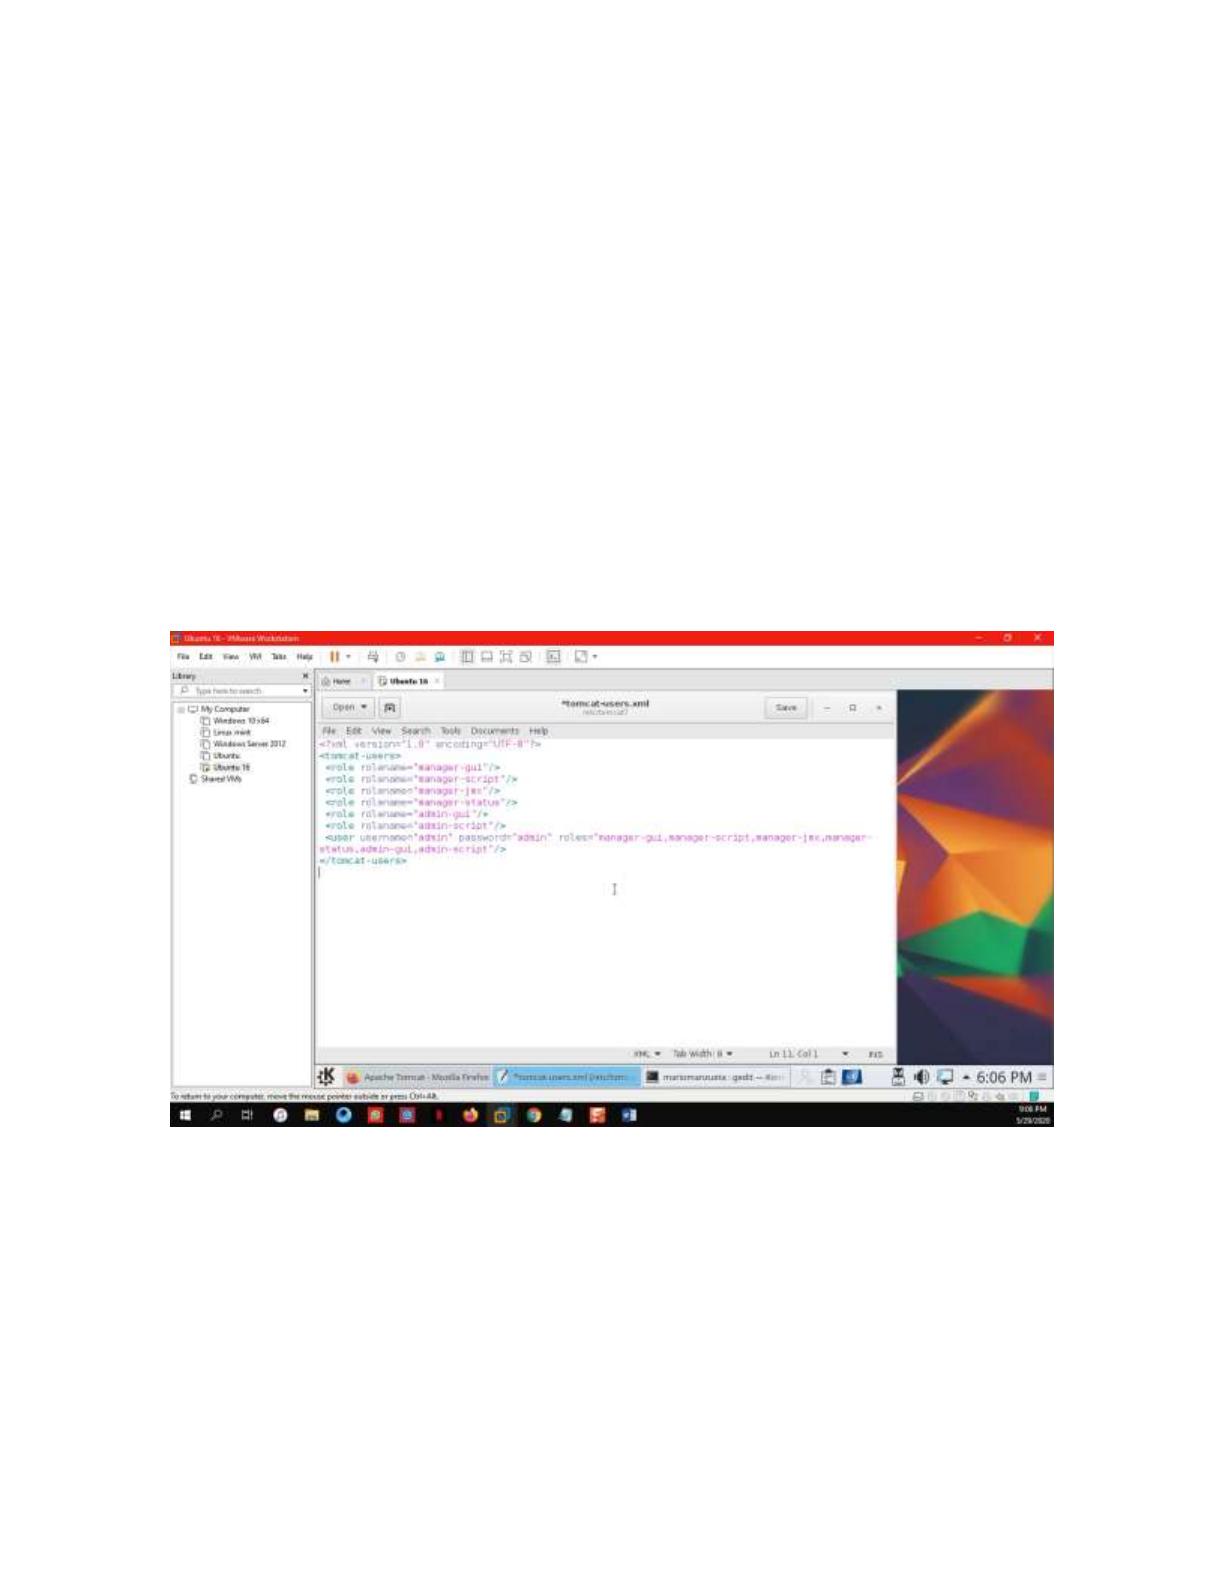
4-Now, we let's set up the roles for tomcat manager webapp to enable us access the control
panel in the future.
# gedit /etc/tomcat7/tomcat-users.xml
Clear the contents of the file and paste the following text in there:
<?xml version="1.0" encoding="UTF-8"?>
<tomcat-users>
<role rolename="manager-gui"/>
<role rolename="manager-script"/>
<role rolename="manager-jmx"/>
<role rolename="manager-status"/>
<role rolename="admin-gui"/>
<role rolename="admin-script"/>
<user username="admin" password="admin" roles="manager-gui,manager-
script,manager-jmx,manager-status,admin-gui,admin-script"/>
</tomcat-users>
Install Java
1-To install JDK on Ubuntu 16.04, we will run the following command which installs the
recommended version of OpenJDK 8.
# apt-get install default-jdk

2-Press 'y' to continue installing JDK on Ubuntu, this enables us to develop Java
applications to run on our Tomcat server. Next, we will be installing Apache Ant, which is
used to build Java applications, and a source control system, git, using the command below.
# apt-get install ant git
Install PostgreSQL
1-Now, we need to install and setup PostgreSQL, as the most of openMAINT depends on
it. We'll first install postgresql and it's additional packages by typing the following
command:
# apt-get install postgresql postgresql-contrib
2-This will create a new user on your PC with the name "postgres". Set your password for
this account using the command below and take note of it as you'll need it later in the setup
and also to log in to your postgres user account.
# passwd postgres
3-After that, we will install a web administrator tool to manage PostgreSQL database, and
this can be installed using command:
# apt-get install pgadmin3
4-Use the command below to find more modules i.e PostGIS, procedural languages, client
interfaces, etc to install.
apt-cache search postgres
PostgreSQLDatabase server setup
1-Now we have successfully installed PostgreSQL database server, let's connect to the user
"postgres" and create a database which we'll use to setup openMAINT soon.
# su - postgres
#psql
2-Now let's create a database for openMAINT. In our case, we'll use postgresqldb as our
database name.
# createdb postgresqldb
3-To connect to your database, enter:

psql postgresqldb
4-When you're asked for a password, use the one you set in step 3 above. Now go ahead
and set a password for the postgres database user. Replace "newpassword" with the
password you'll use for the database.
# psql -d template1 -c "ALTER USER postgres WITH PASSWORD 'admin';"
5-Type \q to disconnect from the database and type exit to logout from postgres back to
your normal user account.
Install JDBC
1-Java is platform neutral, it is a simple process of just downloading the appropriate JAR
file and dropping it into your classpath. We will use below command to get the required
JDBC driver.
# wget https://jdbc.postgresql.org/download/postgresql-9.4-1200.jdbc4.jar
2-Next, using below command copy this to the tomcat's 'lib' directory.
# cp postgresql-9.4-1200.jdbc4.jar /usr/share/tomcat7/lib
Download and Install Openmaint
1-The latest version of OpenMaint can be downloaded from their official web page.
# wget https://downloads.sourceforge.net/project/openmaint/1.1/openmaint-
1.1-2.4.2.zip
2-Once you have downloaded the package, then extract it, enter the directory, and copy the
libraries in 'extras/tomcat-libs' using below commands.
# unzip openmaint-1.1-2.4.2.zip
# cd openmaint-1.1-2.4.2
# cp ./extras/tomcat-libs/6.0\ or\ higher/postgresql-9.4.1207.jar
/usr/share/tomcat7/lib/
3-Then copy openmaint-{version}.war to 'openmaint.war' using below commands.
# cp openmaint-1.1-2.4.2.war /var/lib/tomcat7/webapps/openmaint.war
4-Then we will copy cmdbuild-shark-server-{version}.war to 'shark.war' using below
command.
# cp openmaint-shark-server-1.1-2.4.2.war
/var/lib/tomcat7/webapps/shark.war
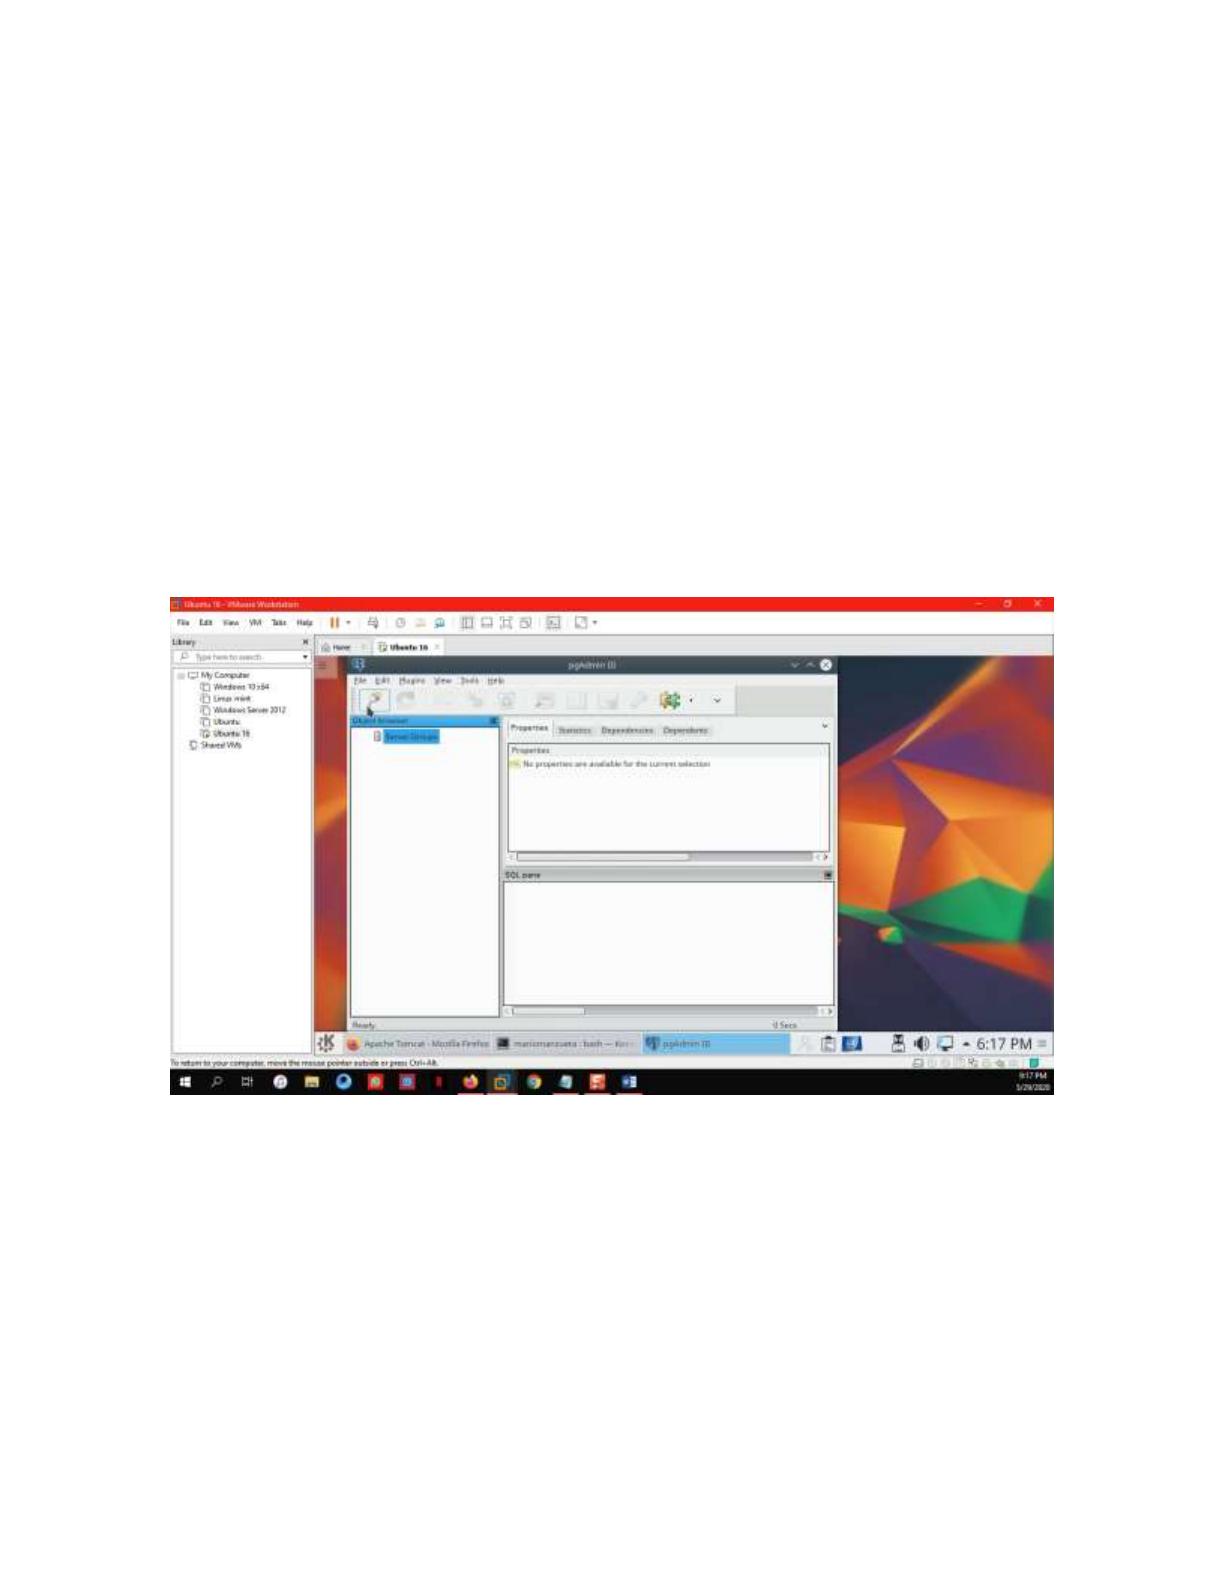
5- Now let’s open the aplication Pgadmin3 that we downloaded. Here we are going to click
in connect, like the Image below.
6- After that we are going to fill up our credentials that are going to be the same we
configure when we were setting up the PostgreSQL database server, and is going to be like
I’ll show you below.
 6
7
8
9
10
11
6
7
8
9
10
11
1
/
11
100%